How to sharpen & strop leather tools
Dull tools cut crooked lines, tear stitch holes and cause most workshop injuries. Ten minutes of setup and ten seconds a session keep every blade you own scary sharp.
Quick answer
Maintain edges with a leather strop charged with green chromium-oxide compound (~0.5 micron): lay the bevel flat, pull spine-first (edge trailing), 8–10 light passes per side, before every session. Sharpen only when stropping stops helping, working up a grit ladder — 1000 → 2000 → 3000+ wet/dry paper on glass — then return to the strop. Keep the factory bevel angle; consistency beats steepness.
Here is the mental model that makes sharpening simple: a cutting edge is a microscopic wedge that rolls over and dulls its polish long before it loses metal. Stropping stands the edge back up and re-polishes it — maintenance, done constantly. Sharpening grinds fresh geometry — repair, done rarely. Beginners who learn to strop almost never need to sharpen; beginners who skip stropping blame their tools.
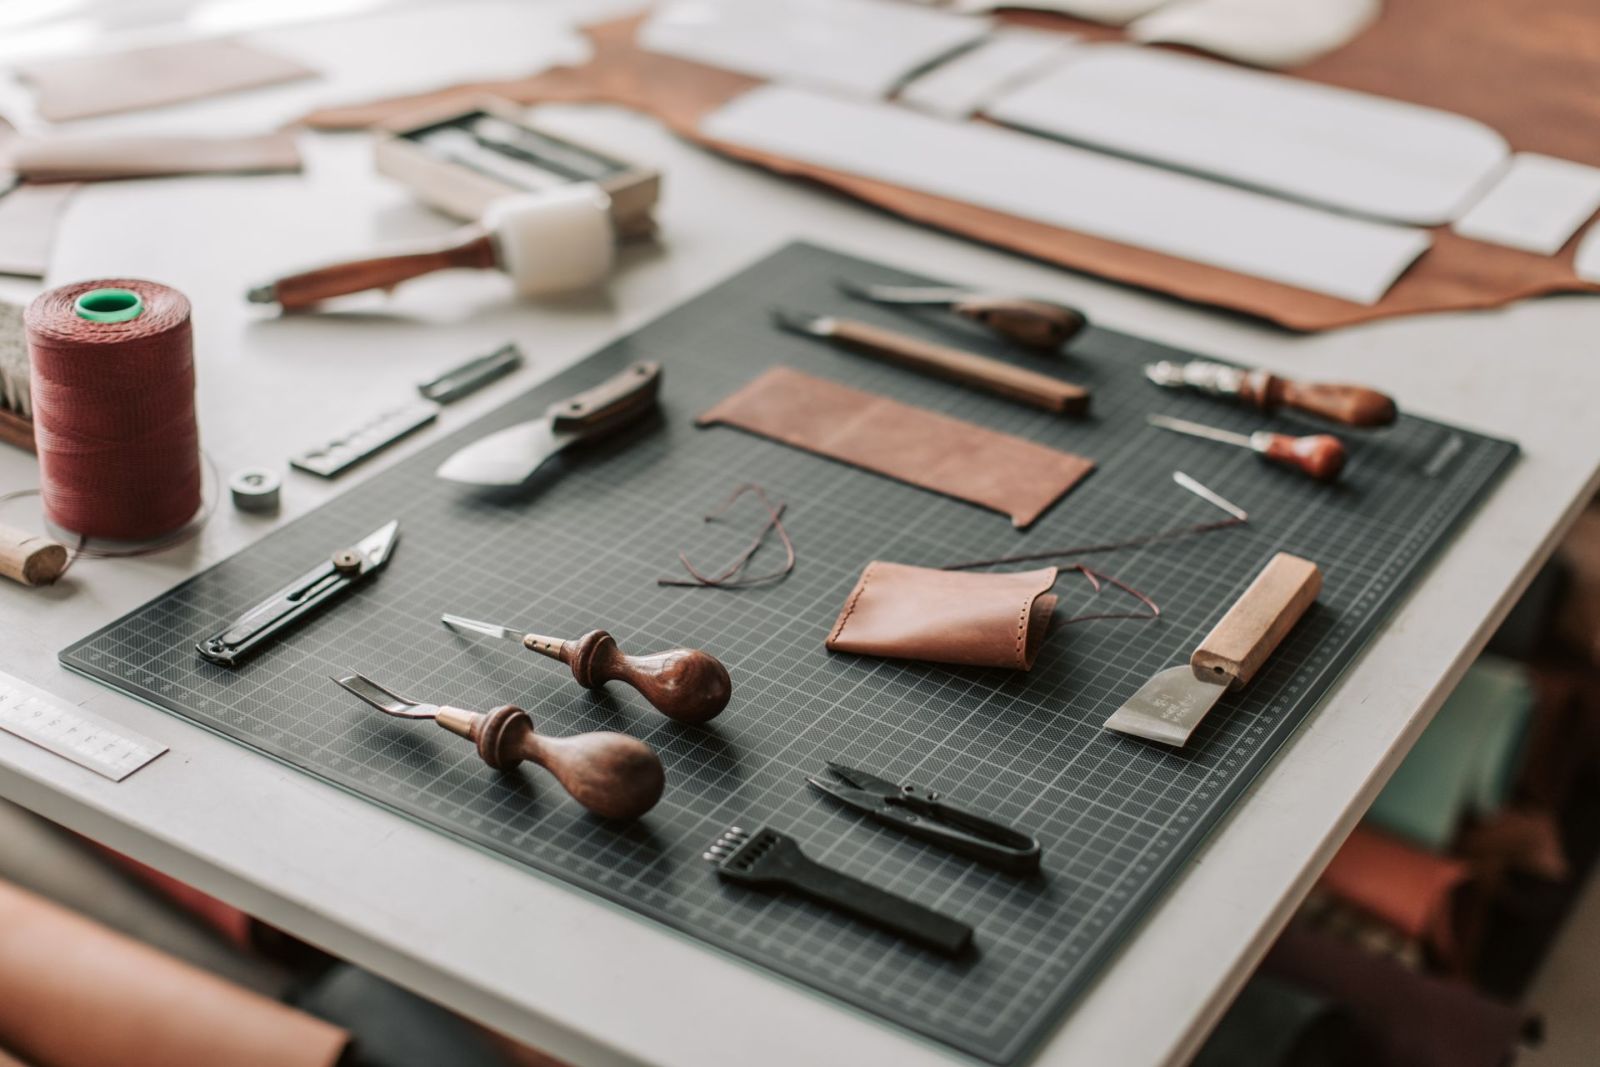
Everything here applies to the whole bench: skiving knives, round knives, awls, edge bevelers and punches.
Stropping: the ten-second habit
A strop is firm leather on a rigid paddle, charged with abrasive. The standard charge is green chromium oxide — about half a micron of grit, fine enough to bring an edge to a mirror. Crayon the bar over the leather until it colours, then strop: bevel flat on the leather, light pressure, and always pull away from the cutting edge. Push edge-first even once and you slice the strop and roll the edge.
Frequency: before every session, and again whenever cutting starts to need effort. Weaver’s shop rule of thumb is blunt about it: strop daily, sharpen weekly at most, grind only when damaged.
Edge-trailing, always
Spine leads, edge trails. Eight to ten light passes per side restores a working edge.
Sharpening: the grit ladder
When a stropped blade still drags or tears, it needs abrasive. The cheapest accurate setup is “scary sharp”: wet/dry sandpaper stuck flat to glass or tile. Coarse paper (400–800) only for visible nicks; then 1000–2000 to set the edge; then 3000+ to polish; then the strop to finish. Two rules carry the whole process: hold one consistent angle (rocking rounds the edge), and raise then remove the burr — sharpen until a fine wire edge forms on the far side, flip, remove it, strop it away.
| Stage | Abrasive | Use when |
|---|---|---|
| Repair | 400–800 grit | Chips and nicks only |
| Set | 1000–2000 grit | Edge drags after stropping |
| Polish | 3000–8000 grit | Before returning to the strop |
| Maintain | Strop + green compound | Every session |
Skiving and single-bevel knives
Japanese-style skiving knives are ground on one side only, at a deliberately low angle — published guidance clusters around 15–25°. The routine differs from a kitchen knife: first flatten and polish the back dead flat (once, properly), then work only the bevel through the grits, and strip the burr off the flat side with one or two flat passes. Never create a second bevel on the back — that is the fastest way to ruin a single-bevel tool. Full context in our skiving guide.
The odd shapes: bevelers, punches, awls
- Edge bevelers: the cutting groove cannot meet a flat stone. Coat a taut length of waxed thread with stropping compound and pull the beveler along it (never push), or wrap 1500 → 3000 grit paper around a dowel that matches the groove. Five to ten pulls per session keeps them shaving.
- Round drive punches: fine wet/dry around a pencil for the inside wall; polish the outside bevel on the strop. Punch into a poly board, never stone — the surface is half the sharpness story.
- Diamond awls: polish all four faces on the strop until they mirror. A polished awl slides through cased leather with two fingers of pressure.
The test cuts
Skip the arm-hair theatrics. Real benchmarks: a sharp knife slices newspaper cleanly with no tearing; a sharp skiving knife takes a translucent sliver off veg-tan without chattering; a sharp beveler peels one unbroken ribbon off an edge; a sharp awl needs no palm-push through two layers of 4 oz. Fail any test → back to the strop; still failing → one trip down the grit ladder.
Step by step
- Charge the strop. Crayon green chromium-oxide compound across the strop’s flesh side until the surface is evenly coloured. Refresh when it glazes black.
- Strop edge-trailing. Lay the bevel flat, pull spine-first away from the edge, 8–10 light passes per side. Test on paper.
- Escalate only if needed. If the blade still drags, tape 1000-grit wet/dry to glass and work the bevel at one consistent angle until a fine burr forms along the far side.
- Refine the polish. Repeat at 2000 then 3000+ grit, chasing the burr thinner with each step and alternating a light pass on the back to strip it.
- Finish on the strop. Ten edge-trailing passes per side removes the last of the burr and brings back the mirror. Wipe the blade and cut something.
- Make it a ritual. Strop at the start of every session and every 30–60 minutes of heavy cutting or beveling. You should rarely see the sandpaper again.
Sharpening kit essentials
A strop, a green bar and a sandpaper pack cover every blade in this guide.
-
Leather Strop (two-sided) + Green Compound
- Size
- ~3x8 in paddle
- Level
- Beginner
The single best upgrade for every blade you own. Charge with the included chromium-oxide bar and strop before each session.
Reviewed 2026-07-20 -
Chromium Oxide Stropping Compound (0.5 micron)
- Size
- green bar
- Level
- Beginner
The standard green honing compound (~0.5 micron). Crayon it onto any leather scrap to make a strop for knives, awls and bevelers.
Reviewed 2026-07-20 -
Wet/Dry Sandpaper Set (1000-3000 grit)
- Size
- 1000/1500/2000/3000
- Level
- Beginner
Stick to glass or a tile for a dead-flat budget sharpening station. Work up the grits, then finish on the strop.
Reviewed 2026-07-20
Key takeaways
- Strop constantly (green compound, edge-trailing); sharpen rarely.
- Grit ladder: 1000 → 2000 → 3000+ → strop, at one consistent angle.
- Bevelers strop on compound-coated thread; punches on a dowel; awls on all four faces.
- Sharp is a safety feature — dull blades slip.
Keep building your bench skills: the next stop in this series is best strop & sharpening kit for leather tools, and the step before it was how to skive leather.
Frequently asked questions
How often should leather tools be sharpened?
With a proper stropping habit, rarely — months apart for hobby use. Strop before every session; reach for abrasives only when stropping no longer restores the edge or the blade is nicked.
What grit sandpaper for leather knives?
1000–2000 grit wet/dry to set an edge, 3000+ to polish, on a dead-flat backing. Save 400–800 for repairing chips. Always finish on a compound-charged strop.
Which direction do you strop a blade?
Edge-trailing only: spine leads, cutting edge drags behind, pulling away from the direction the edge faces. Pushing edge-first cuts the strop and rolls the edge over.
What angle for a skiving knife?
Keep whatever the maker ground — most run in the 15–25° region. Matching the existing bevel consistently matters far more than hitting a magic number.
Can I strop with toothpaste or car polish?
They contain mild abrasives and sort of work in a pinch, but a $6 bar of green chromium oxide is engineered for exactly this and lasts years. Buy the right thing once.