How to cut leather cleanly
Every wandering seam and lumpy edge starts life as a bad cut. Clean cutting is 20% blade and 80% setup — and the setup costs less than one hide.
Quick answer
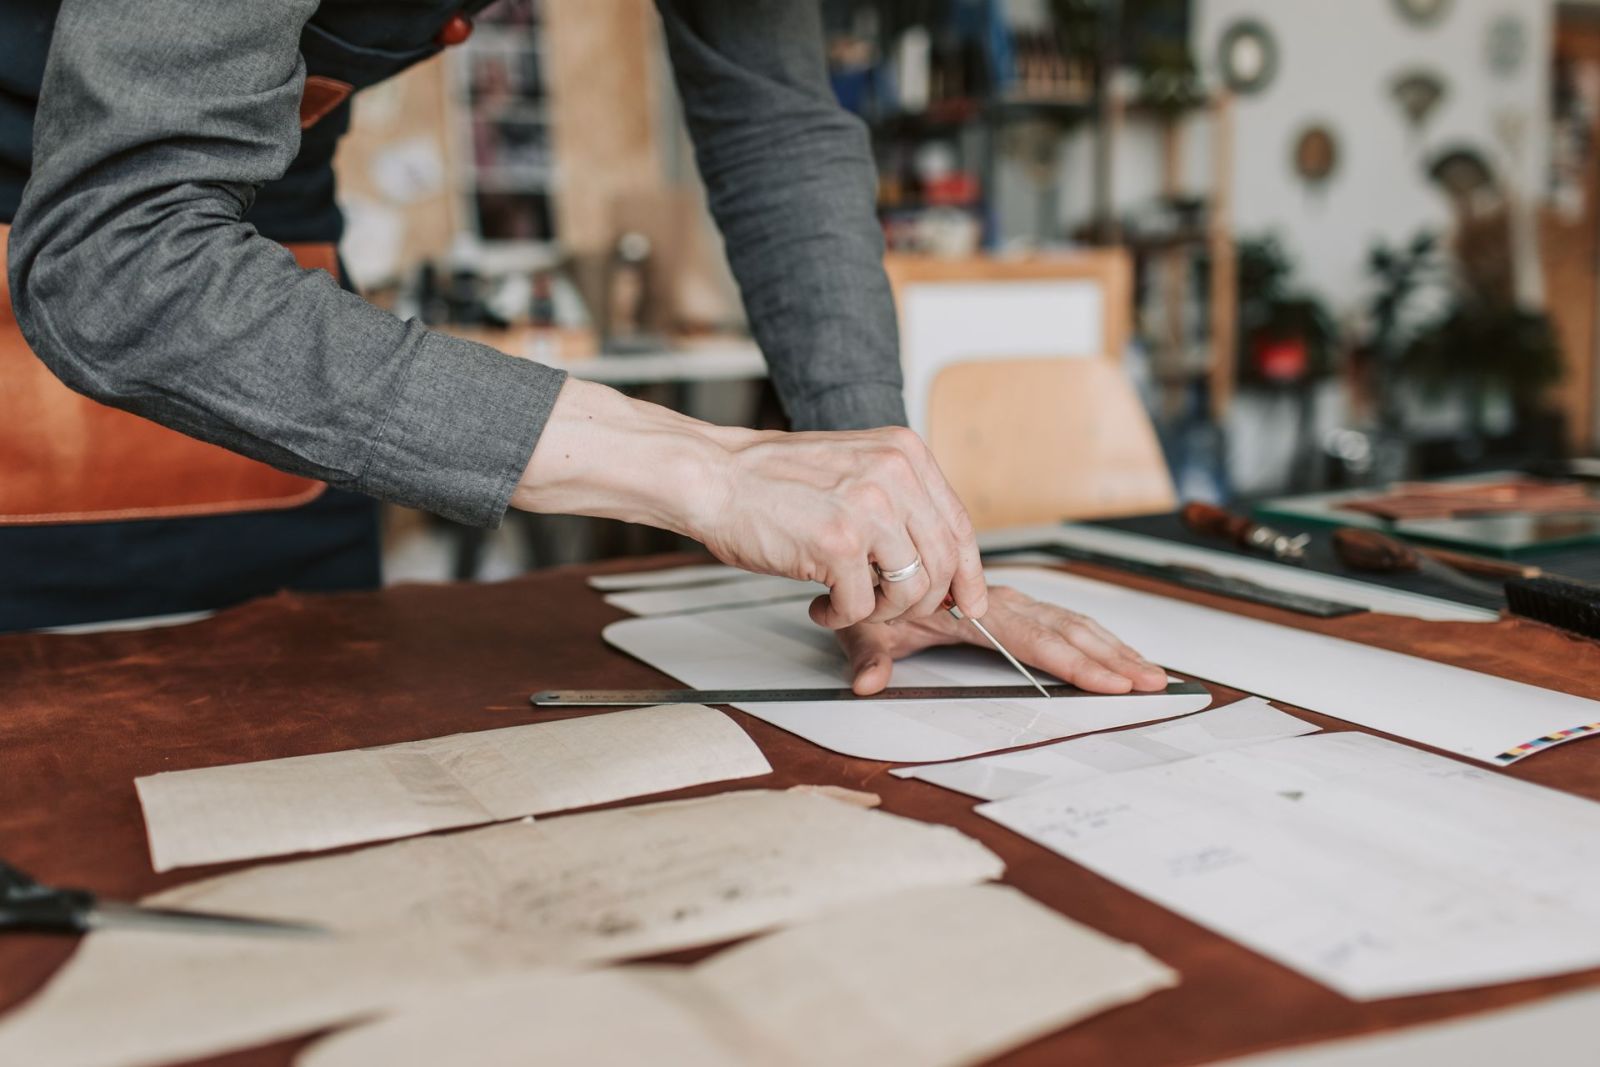
Cut on a self-healing mat, guide the blade with a cork-backed steel ruler, and use a sharp utility knife held low. Score the first pass lightly to set the track, then cut through in one or two firmer passes. Thin, soft leather cuts cleaner with a rotary cutter. Punch and chisel on a poundo/poly board — never on the mat.
Leather punishes hesitation. A slow, wobbling cut shows forever along a burnished edge, and no amount of sanding truly rescues a ragged line. The professionals’ secret is unglamorous: a fresh blade, a ruler that cannot slip, a surface that will not grab, and the confidence of the two-pass method. All of it is learnable in one evening of scrap.
Tools first, technique second — and if you have not bought a knife yet, start with our beginner knife guide and the utility vs rotary comparison.
The cutting station: three surfaces, three jobs
A proper bench runs a small ecosystem of surfaces, each protecting something different:
- Self-healing cutting mat (18×24 in is the useful minimum; 24×36 in if space allows) for all knife and rotary work. Shallow blade cuts close up; the printed grid squares panels fast.
- Poundo / poly board for anything struck: drive punches, stitching chisels, hardware setters. Firm enough for clean holes, soft enough to spare edges.
- Granite or marble slab (offcut counter is fine) under the poundo board for stamping and setting — mass makes strikes crisp.
The classic mistake is punching on the cutting mat: mats are engineered to heal from slices, not impacts, and mallet blows chew them into craters that then steer your knife.
The ruler matters more than the knife
A cork-backed steel ruler is non-negotiable for straight cuts. The cork grips smooth leather so the ruler cannot skate, and it raises the steel edge just enough that the blade cannot climb over it into your fingers. Aluminium yardsticks slide; plastic rulers get sliced. Press down through your fingertips spread along its length, keep fingers behind the edge line, and cut away from the hand that anchors.
Technique: score, then cut
The two-pass method fixes 90% of beginner cutting: hold the knife low (30–45° to the leather), and make the first pass a light score — you are drawing a groove, not cutting through. The groove then guides the second, firmer pass so the blade cannot wander. Thick veg-tan may take three passes; let the blade do the work rather than forcing it. Keep your eye on the ruler edge ahead of the blade, not on the blade itself, and pull with your whole arm, not the wrist.
The two-pass cut
Curves, corners and templates
Curves: slow down, shorten the strokes, and steer the leather as much as the blade — many makers rotate the work into a stationary knife. Tight radii come out cleaner from a series of short tangent cuts than one continuous swoop. Outside corners: cut past the corner from both directions rather than pivoting at it. Inside corners: stop short and finish inward from each side, or start the corner with a round punch and cut to it. Templates: trace patterns with a scratch awl rather than pen; cut just outside the line and true up.
Why cuts go wrong
- Dull blade — drag stretches the leather and wanders the line. Snap or strop the moment cutting needs force (see sharpening & stropping).
- Blade held high — a near-vertical blade flexes and follows grain; keep it low.
- One heroic pass — forcing full depth in thick leather is how cuts drift and hands slip.
- Cutting toward your anchor hand — the injury cliché for a reason. Reposition instead.
- Stretchy leather, straight knife — soft hides want the rotary cutter’s zero-drag wheel.
Step by step
- Set up the surface. Lay the leather grain-up on a self-healing mat on a firm table. Wipe the mat clean — grit under leather telegraphs into scratches.
- Mark the cut. Trace the template or measurement with a scratch awl or fine scribe line. Awl lines are exact and disappear into the cut edge.
- Anchor the ruler. Place a cork-backed steel ruler on the keep side of the line, fingertips spread along it and behind the cutting edge.
- Score the line. Draw the knife low and light along the ruler in one continuous stroke — a visible groove, not a through-cut.
- Cut through. Repeat with firmer pressure in the same groove; thick leather may take a third pass. Let the blade work — never force it.
- Finish corners and true up. Complete corners by cutting inward from each edge, then lightly sand any whisper of raggedness before edge finishing.
The cutting station, itemized
Knife, ruler, mat, board — the whole setup costs less than one ruined side.
-
Utility / Snap-Blade Knife
- Size
- retractable blade
- Blade
- replaceable blade
- Level
- Beginner
The cheapest reliable way to cut leather: snap to a fresh edge whenever it drags. Fine for straight lines against a steel ruler.
-
Clicker / Craft Knife (interchangeable blades)
- Size
- fixed handle, swap blades
- Blade
- replaceable blade
- Level
- Beginner
A rigid handle with replaceable blades gives more control than a snap knife for curves and corners without sharpening skills.
-
Japanese Craft Knife (kiridashi)
- Size
- single-bevel
- Blade
- high-carbon steel
- Level
- Intermediate
A single-bevel marking and cutting knife that also skives. Sharpens easily; a great bridge toward a round knife.
-
Self-Healing Cutting Mat (18x24 in)
- Size
- 18x24 in | 1 in grid
- Level
- Beginner
For knife and rotary cuts only — never punch on it. The printed grid squares up straps and panels fast.
Reviewed 2026-07-20 -
Cork-Backed Steel Ruler (24 in)
- Size
- 24 in stainless
- Level
- Beginner
The cork keeps it from skating on smooth leather and lifts the edge away from the blade. Buy longer than you think you need.
Reviewed 2026-07-20 -
Poundo / Poly Punching Board
- Size
- 12x12 in
- Level
- Beginner
The surface to punch and chisel into: firm enough for clean holes, soft enough to spare your cutting edges. Pair it with the mat, don't replace it.
Reviewed 2026-07-20 -
Rotary Cutter (45 mm)
- Size
- 45 mm wheel
- Weight
- 1-4 oz
- Blade
- replaceable blade
- Level
- Beginner
Rolls instead of drags, so thin and stretchy leathers stay put. Superb for long straight cuts against a steel ruler.
Reviewed 2026-07-20
Key takeaways
- Score first, cut second — the groove steers the blade.
- Cork-backed steel ruler + fresh blade beats any expensive knife.
- Knife work on the mat; struck tools on the poundo board.
- Soft, thin leather wants the rotary cutter.
Reading in order? Continue with utility knife vs rotary cutter for leather; the previous chapter was best leather cutting knife for beginners.
Frequently asked questions
What is the best tool to cut leather for beginners?
A snap-blade utility knife with a cork-backed steel ruler on a self-healing mat. It handles every weight, blades cost pennies, and the two-pass technique makes it accurate from day one.
How do I cut leather in a straight line?
Anchor a cork-backed steel ruler with spread fingertips, score a light first pass to set a groove, then cut through with one or two firmer passes. Watching the ruler ahead of the blade (not the blade) keeps the line true.
Can I cut leather with scissors?
Thin garment leather (1–3 oz), yes — sharp shears work. Anything firmer bevels and crushes at the cut. For veg-tan and structural work, use a knife.
Why does my knife drift toward the ruler or away from it?
Blade flex from holding it too upright, a dull edge following the grain, or side pressure from your wrist. Hold the knife low, use a fresh blade, and pull from the shoulder in line with the cut.
What surface should I punch holes on?
A poundo or dense poly board over something solid. Never the self-healing mat (impacts destroy it) and never stone or steel (they blunt the punch instantly).